Can we take a moment and all agree that lactose intolerance sucks? I know it can be a blessing in disguise, helping us be healthier and support animal-friendly foods…but sometimes I really just want a pint of Ben and Jerry’s without my stomach pulling an Alien on me. It’s unfair. Especially if you’re like me and your perfect dinner consists of an entire round of cheese. Being the rebel that I am, I still enjoy most lactose-filled foods in moderation, but I could never do it every day. So the one thing I really needed a replacement for was milk in my morning coffee or tea. Because without caffeine I’m a useless lump.
I tried the Lactaid milks and they were okay, but didn’t always leave me feeling so great despite claiming to be filled with lactase. Soy milk worked for a while, but I got nervous about all the “SOY IS GOING TO GIVE YOU HORMONES AND KILL YOU” talk floating around. Store bought almond milk was my last viable option but its ingredient list made me wary. So I finally decided to take matters into my own hands. Literally.
Before I made almond milk I assumed it was insanely complicated, or at least required some special equipment. All you need is almonds, a blender, and a strainer. A nut milk bag or cheese cloth will get you an even thinner milk, and they’re about $2 at any grocery store, but the milk will still be delicious if you don’t have one.
This recipe results in a milk that’s similar to the consistency of 2% cow’s milk. If you want a thicker milk, use about a cup less of water, and if you want a thinner milk just use more. I use filtered water because I like the taste, but any water you’re comfortable drinking is fine. This milk is delicious on its own, but doesn’t taste like store bought almond milk. It really just tastes like the best part of almonds in a creamy liquid form, and I prefer it to the commercial almond milk and even to cow’s milk. If you’re looking for a sweeter drink you could easily add some honey, agave, or even blend in a couple dates.
Almond milk’s uses are endless: use it with cereal, smoothies, in baking, in tea or in your morning coffee. If you have a milk steamer this milk foams up beautifully because of its high protein content. If you don’t have a steamer just pop it in the microwave for 30 seconds and then whisk until it gets foamy, then pour it into espresso and you’ve got a healthy cappuccino. You can also freeze the almond milk in ice trays and toss them into your smoothies. As much as I love to complain about not being able to tolerate dairy, I admit that this almond milk almost makes it all worth it.
Almost.
Homemade Almond Milk
By L.
Makes roughly 6 cups
2 ½ cups raw almonds
5 ½ cups of filtered water
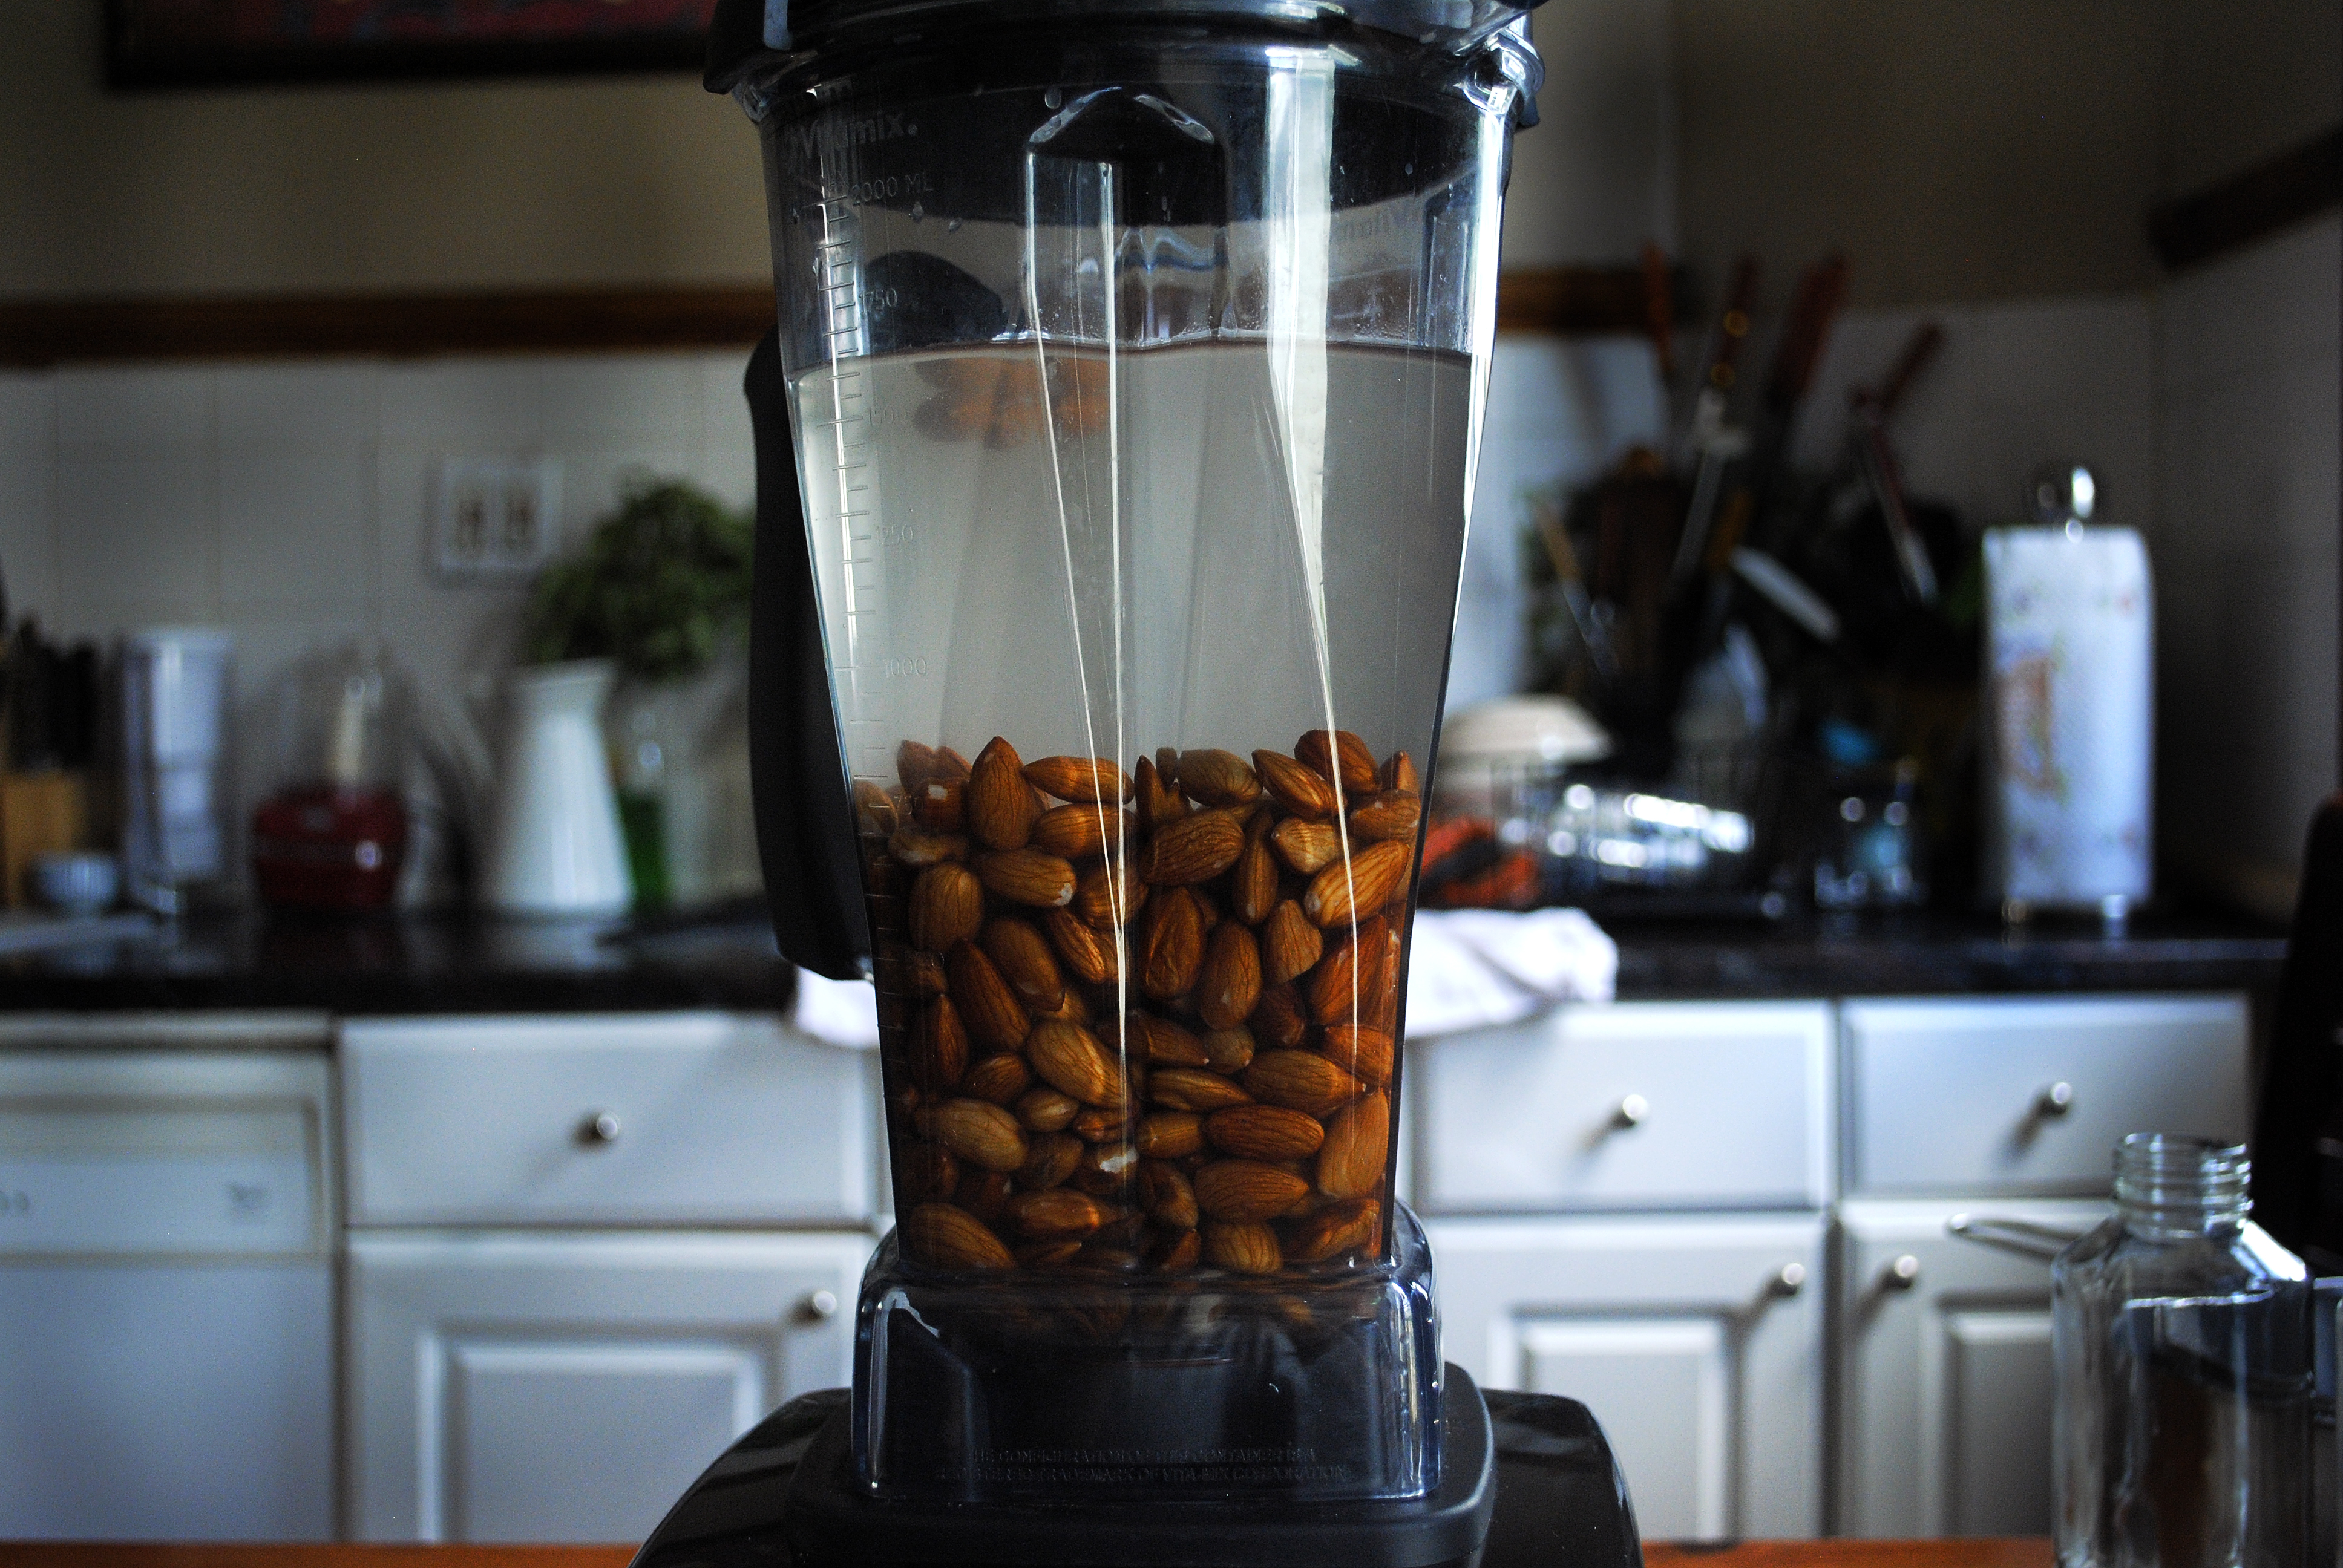
Put the almonds in an airtight container and cover them with water so there’s roughly half a centimeter covering the almonds, making sure every almond is completely wet. Let them soak in the fridge overnight, or for at least 6 hours. If you can soak them for longer, up to a day, the milk will come out even silkier – but past a day and almonds might start to spoil.
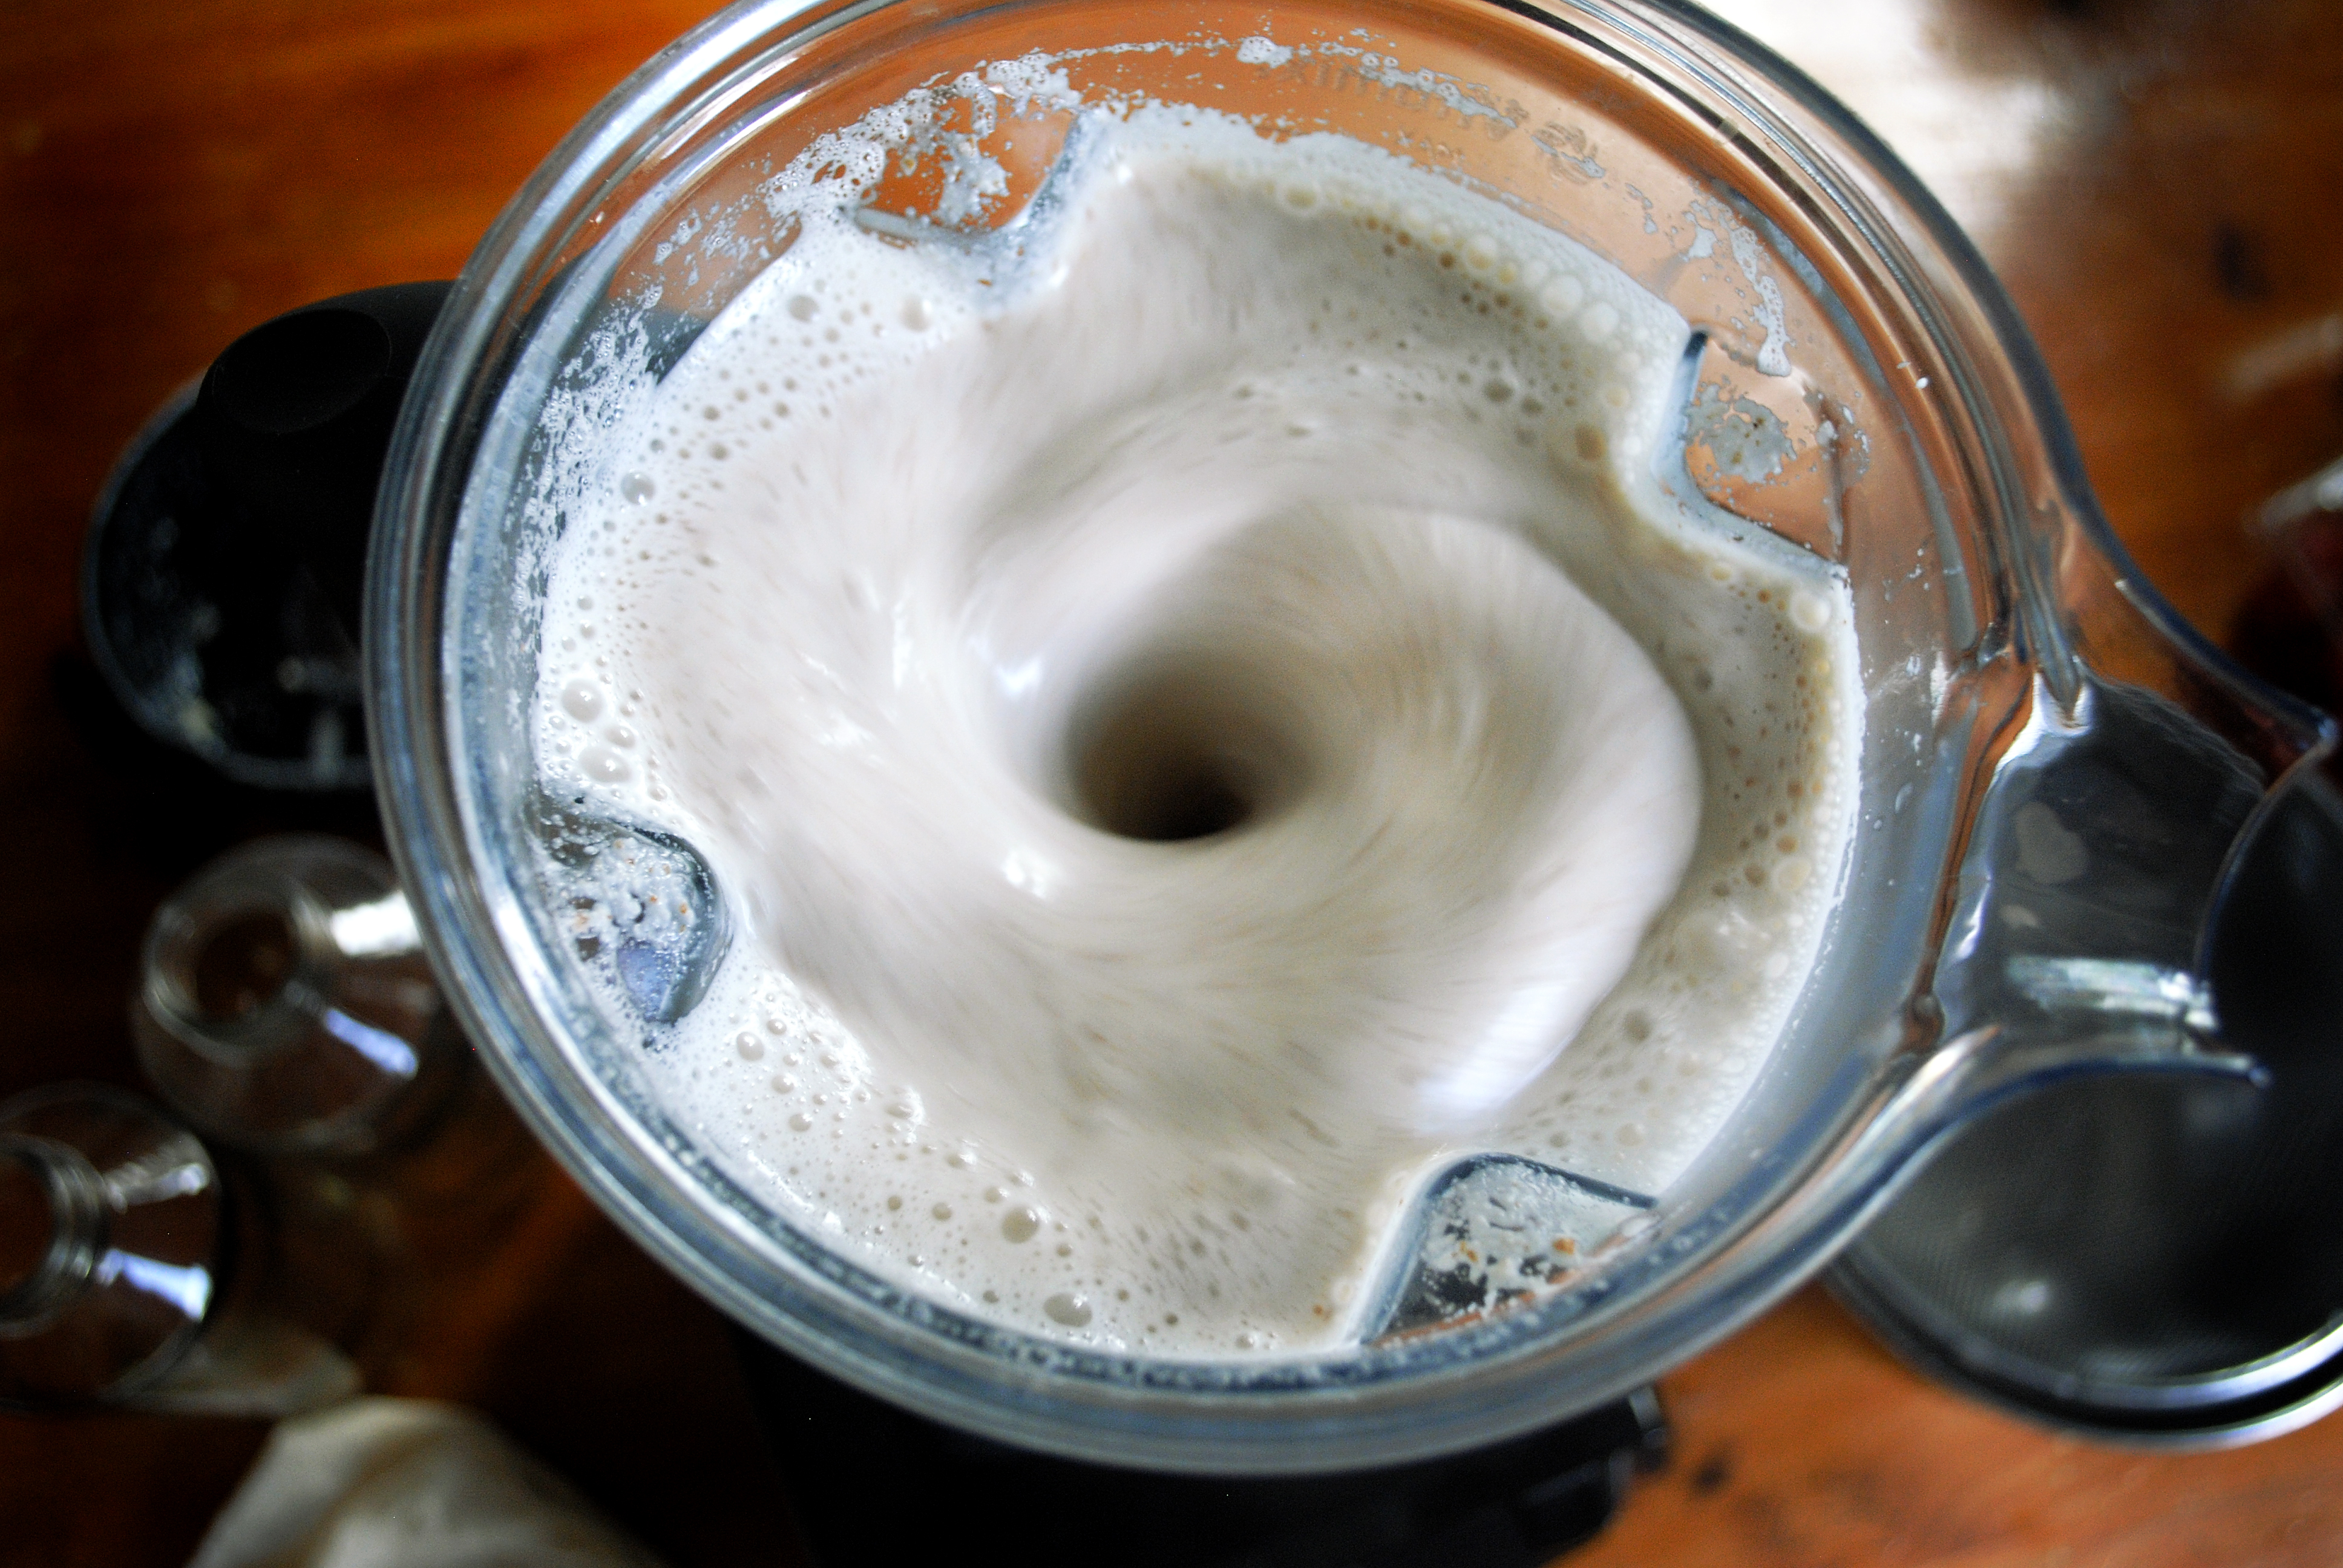
After their soak, drain the almonds and give ’em a quick rinse. Throw them into a blender with the filtered water and blend on high for 30 seconds to a minute, or until completely blended and milky white. You’ll still see specks of almond.
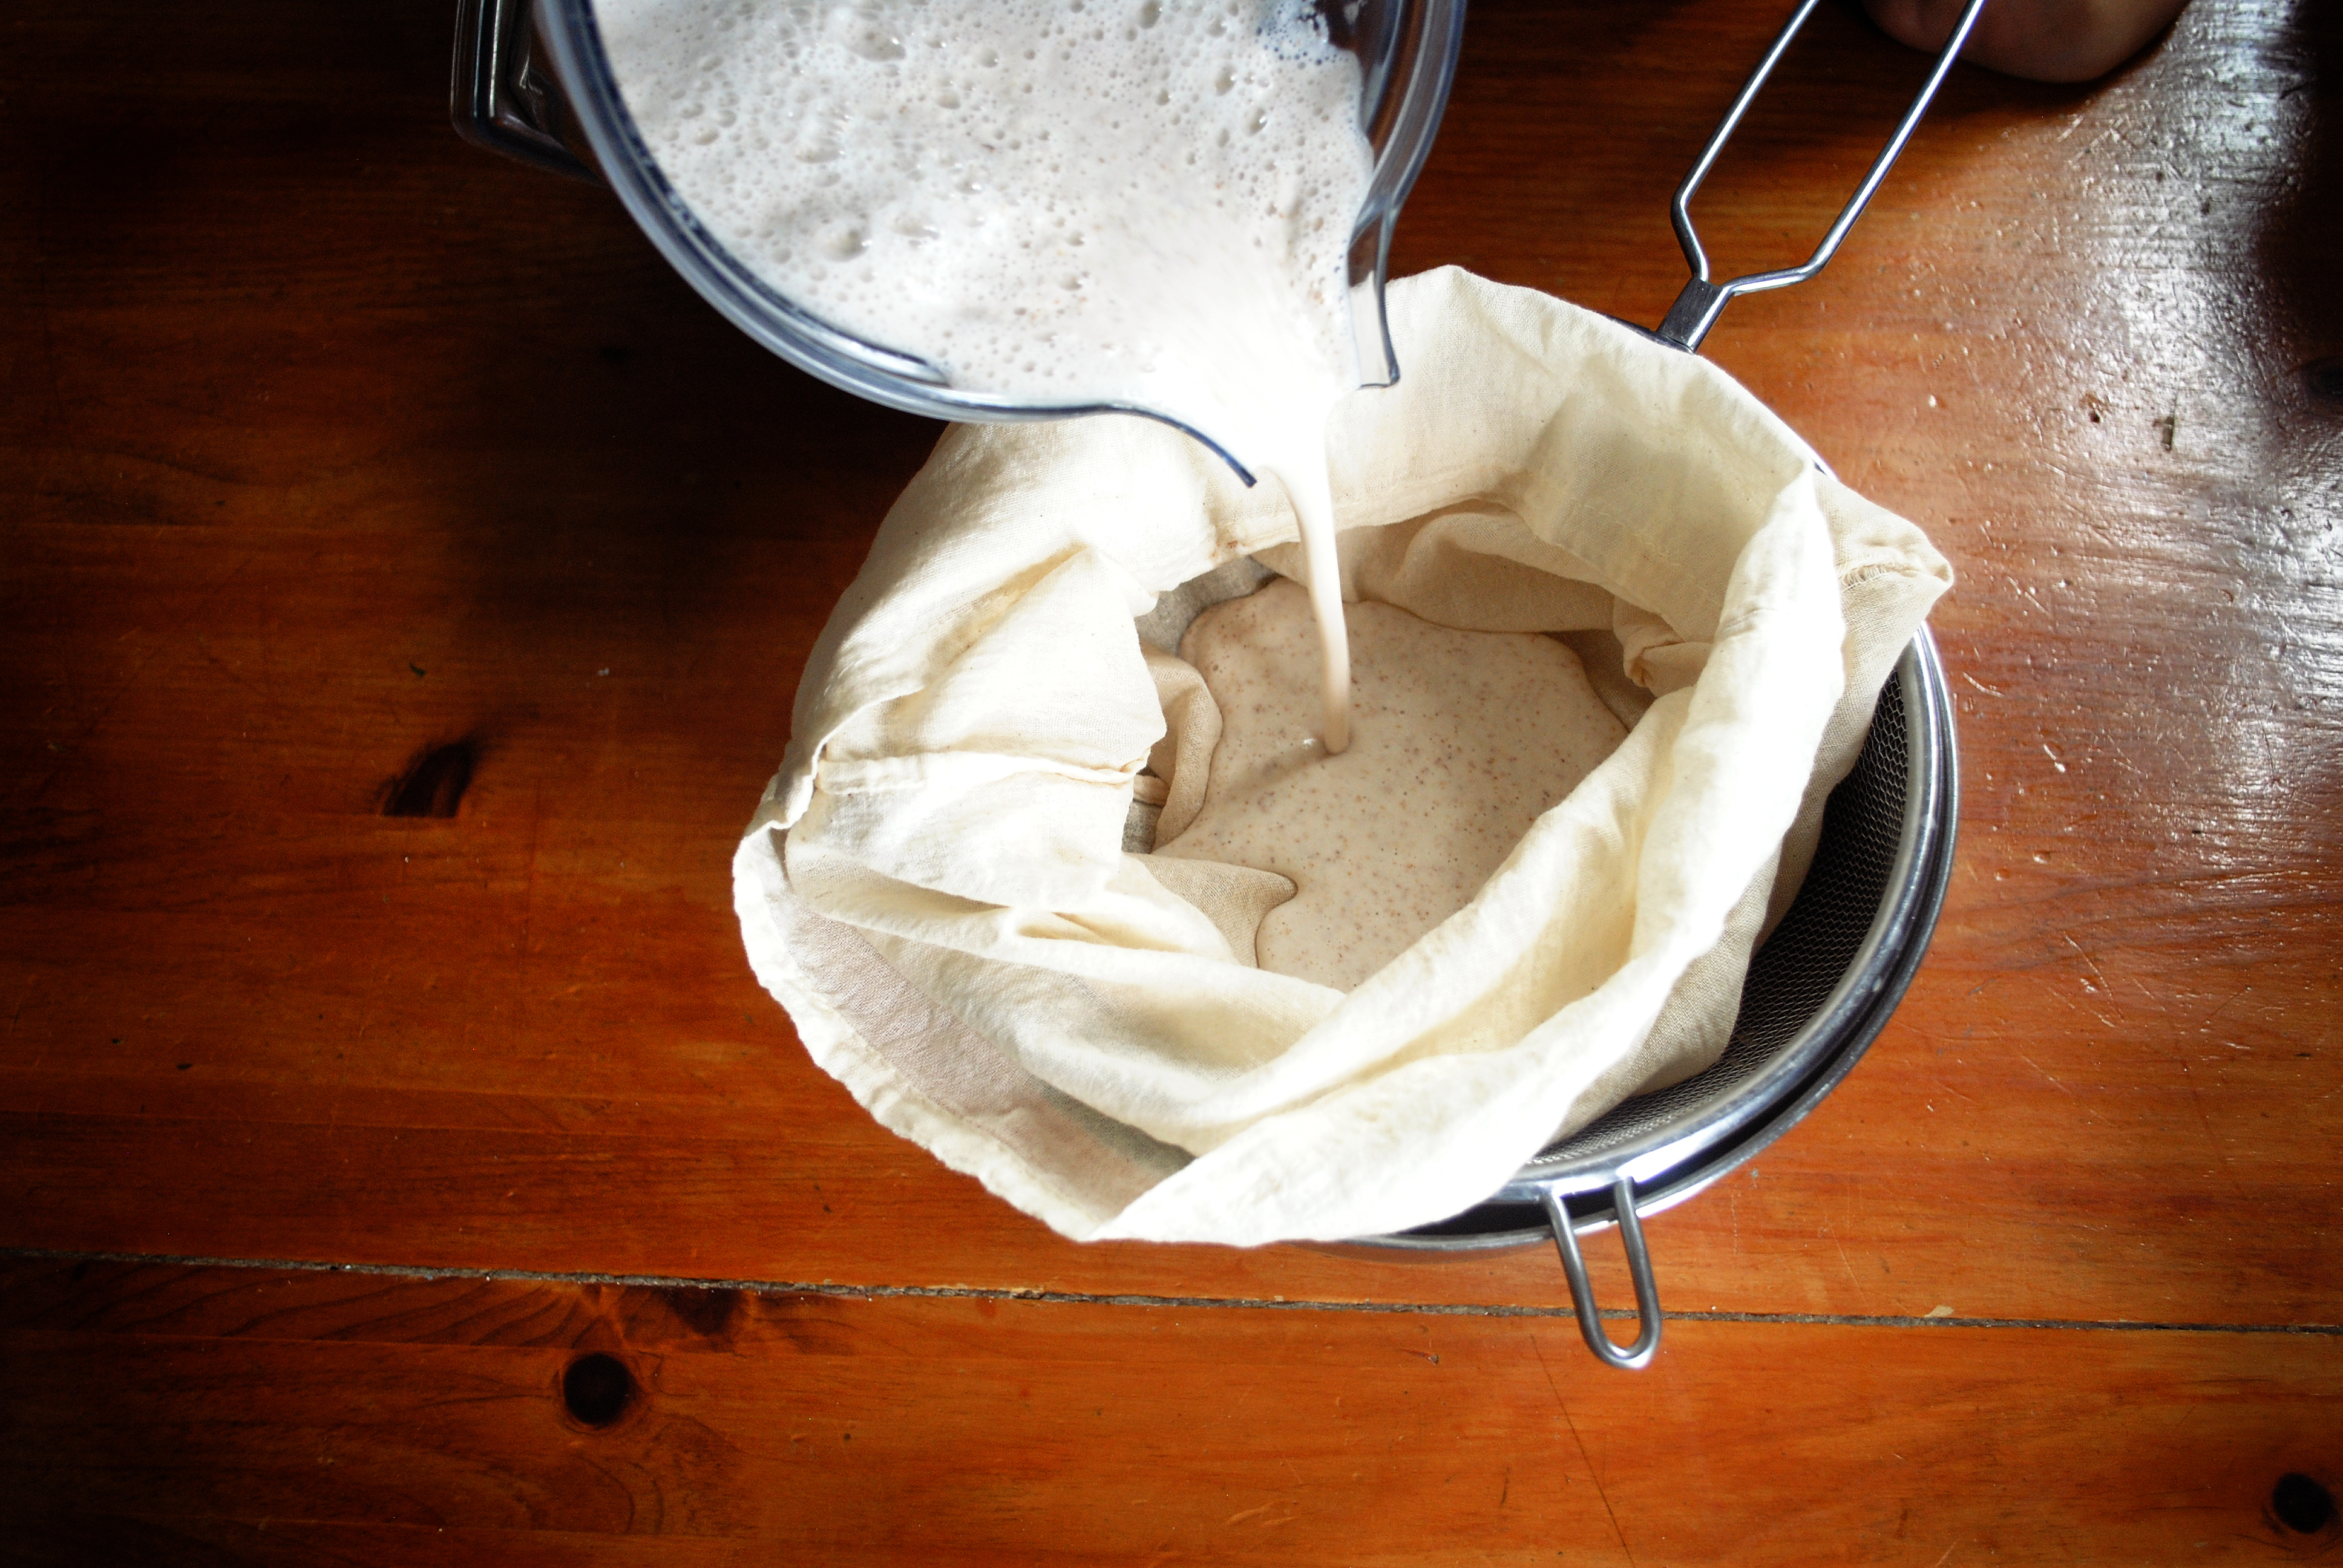
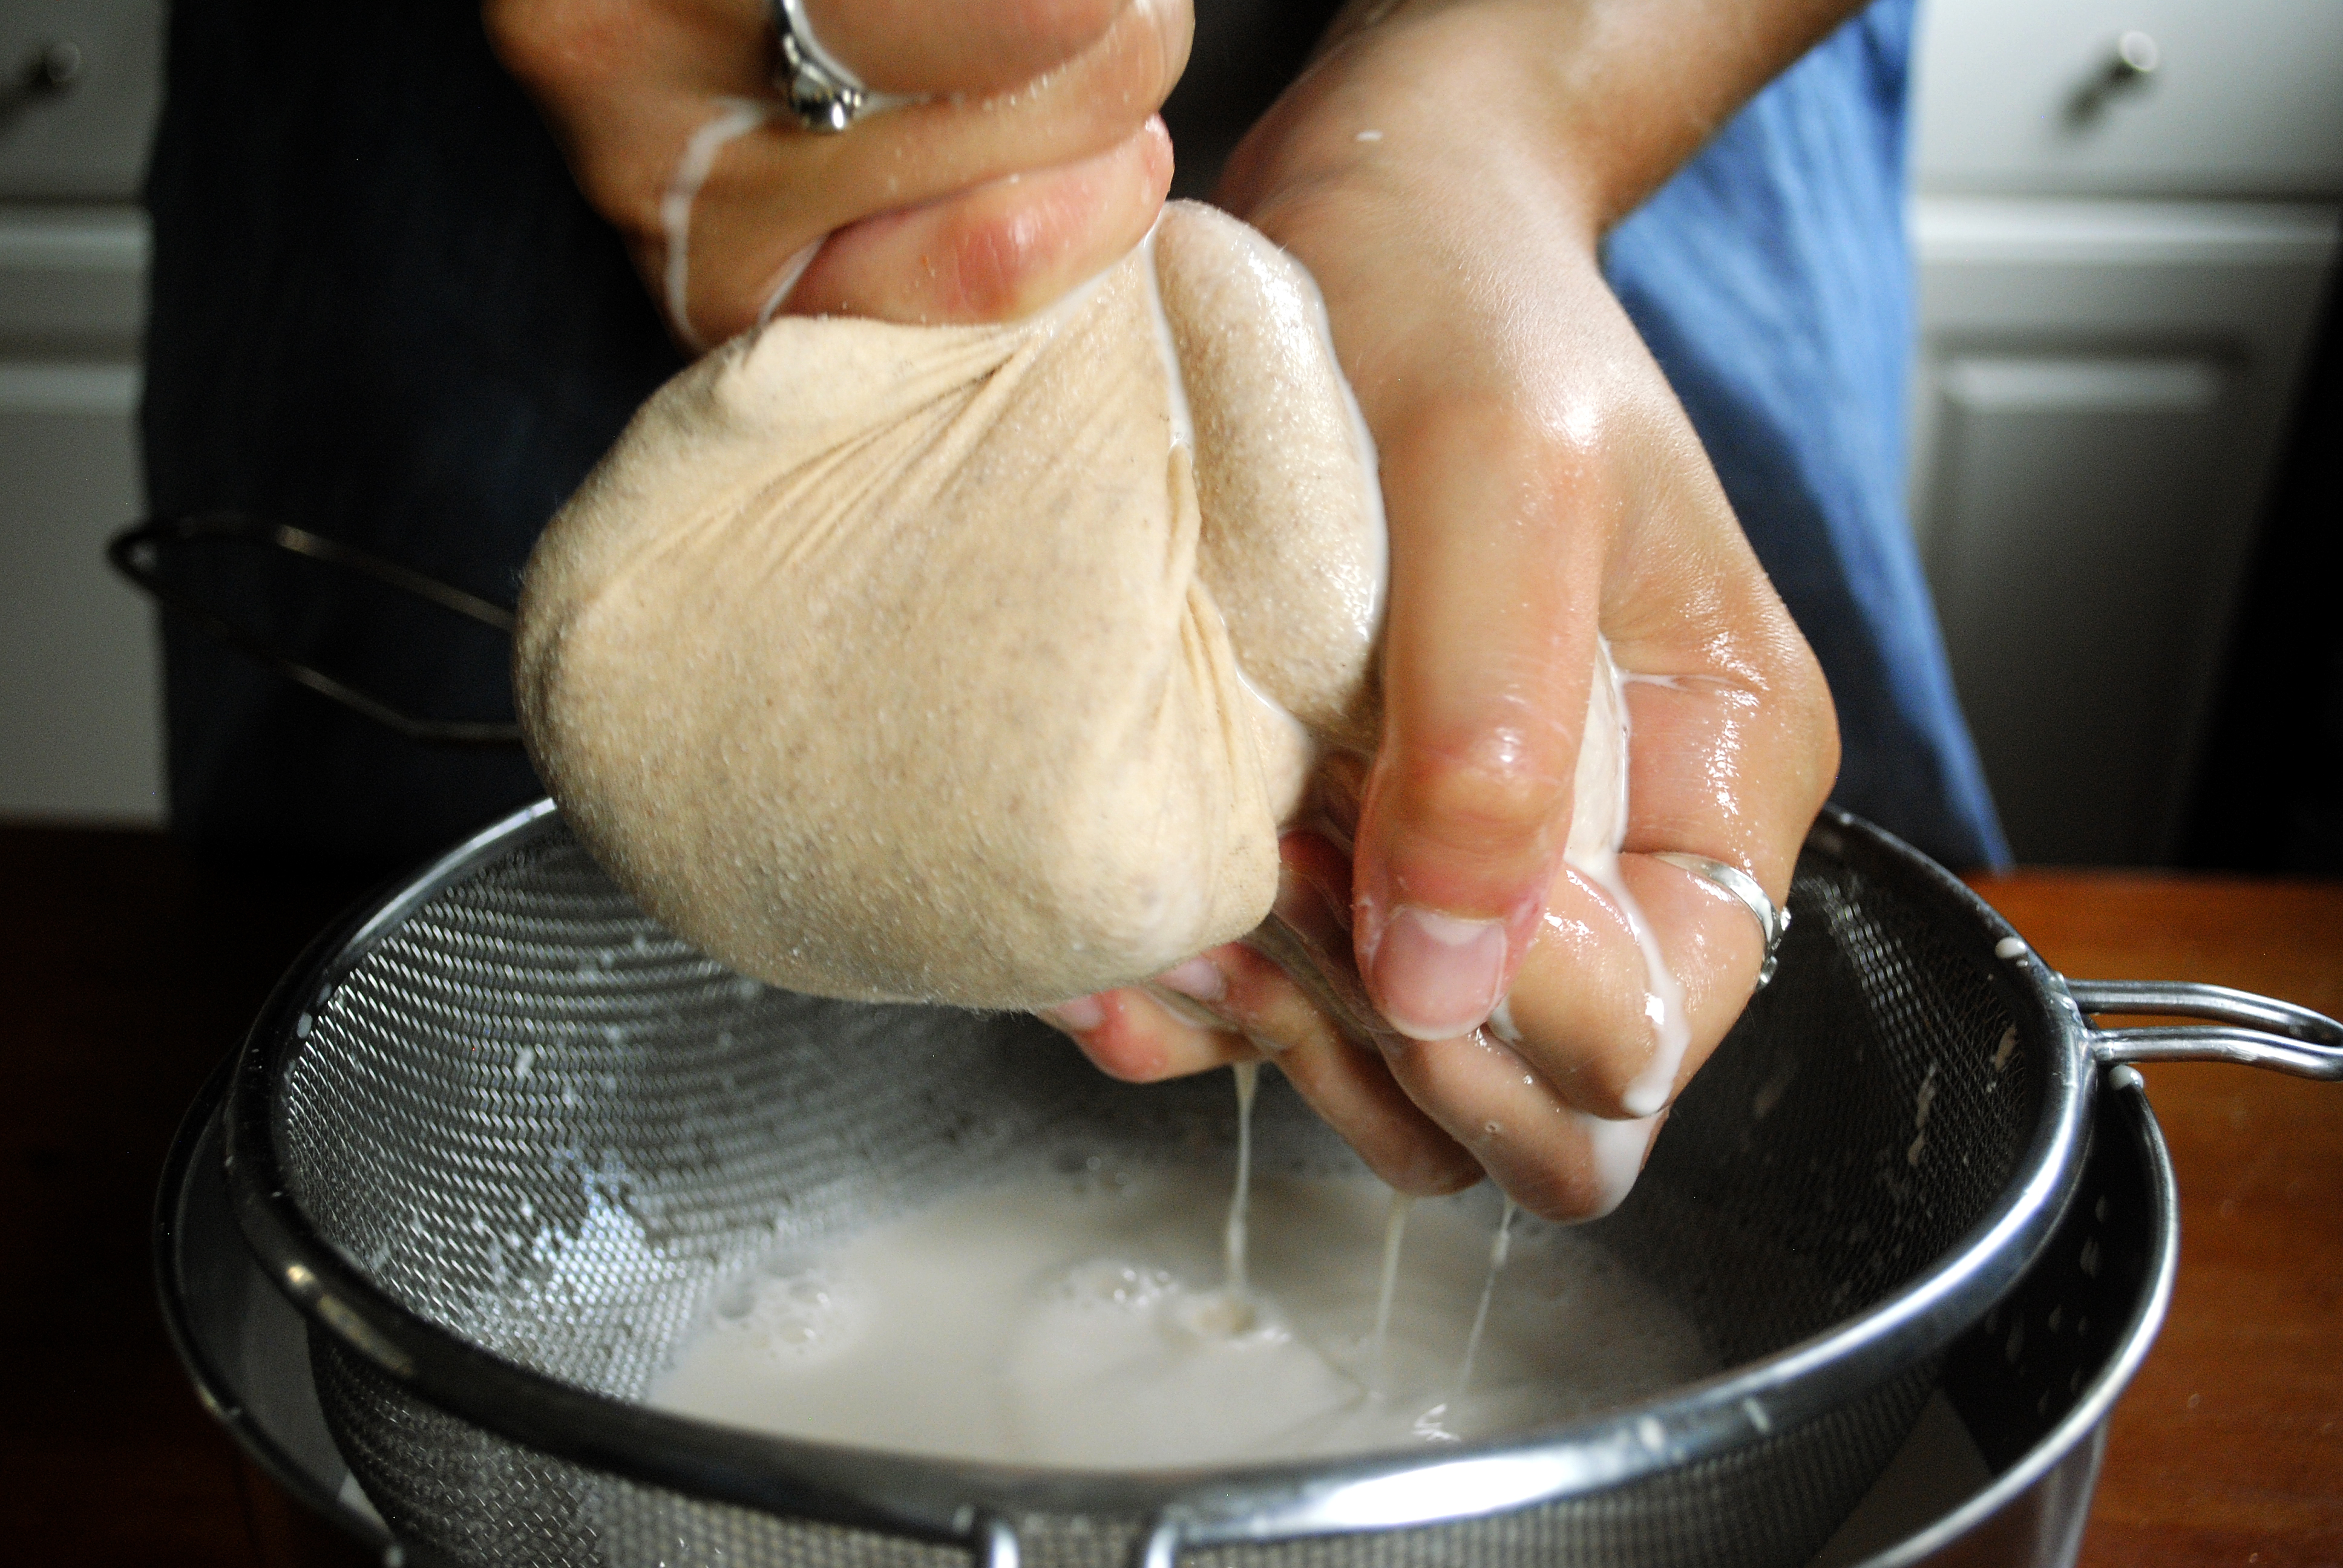
Set up a nut milk bag over a strainer over a bowl and pour the blended almond milk into the bag, scrape the bottom with a spoon a bit, then use your hands to squeeze out as much milk as you can. Stop squeezing when it gets too difficult to get any more out. You’ll be left with dry almond meal in the bag (which you can toast in the oven and use as almond flour in baking), and finished almond milk in the bowl.
The almond milk will keep in the fridge for up to a week.
P.S. It’s also great in lavender iced tea!


