

Making homemade bread is way easier than it’s made out to be.
Really. With just a few ingredients, very little hands-on time, and such a forgiving subject, making bread is technically easier than whipping up a batch of cookies. I’m here to tell you that no matter what bread recipe you want to use, you can play around with it and tailor it to get exactly the results you want.
And if you’ve never made bread before, hopefully this will assuage your fears.
Let’s dig in.

Step 1: Know your Ingredients
All you need is four ingredients: flour, salt, yeast and water. That’s it.
From there you can add honey or sugar, oil or butter, herbs, cheese, swap the water for beer, whatever you like. But you need no more than those four basic ingredients for a truly great loaf of bread.
The trick is in the proportion of ingredients. A wetter dough, for example, will give you a crispier bread with more holes (known as a loose crumb), and a drier dough will have a more dense, tight crumb, similar to loaves of bread from the grocery store.
Flour:
Different flours also have different amounts of gluten. Pastry flour has the least, bread flour has the most, with all-purpose in between. For bread, bread flour is the way to go (shocking, I know). You can also buy pure gluten, often labeled “vital wheat gluten”, to add to your dough, but it’s not at all necessary. Even all-purpose flour can make a good loaf of bread.
Whole wheat flour includes all the fibrous parts of the wheat berry, and these particles get in the way of gluten formation, so it’s a bad idea to make bread that has a high proportion of whole wheat flour. This fiber also absorbs a lot of water, so a dough with more whole wheat flour will need more water. The same goes for gluten: if you’re adding a lot of gluten, or using bread flour when a recipe calls for all-purpose, give the dough a little more water to work with. Never tie yourself to the recipe’s measurements, because your kitchen might be more or less humid, so you may need more or less water.
Yeast:
Depending on the type you’re using, yeast typically does not need to be “proofed” as most recipes dictate. This step is to make sure your yeast is alive and kicking, but as long as your yeast hasn’t expired, your yeast will most likely be good to go. Just add water to dissolve it a bit then add the remaining ingredients and mix until combined before kneading.
Also, don’t think that using more yeast will make your bread better. Using more yeast will give your bread a more powerful initial rise, yes, but the flavor and texture won’t have as much of a chance to fully develop, and it may even lend a “yeasty” taste to the finished product. Using less yeast means your dough will need more time to rise, but the quality and flavor of the bread will be better off. Cut the amount of yeast in a bread recipe in half and then double or triple the rising times, and you’ll be rewarded with much better flavor and texture.
Salt:
Salt is yeast’s greatest foe, so they should never come in direct contact with each other. Salt is essential because not only does it add flavor, it also keeps yeast in check and helps to strengthen gluten’s structure. Which leads me to the next step:

Step 2: Understand Gluten
Gluten, often considered the archenemy in today’s foodieverse, is what makes bread so damn delectable. Flour has proteins, glutenin and gliadin, and when flour gets wet these proteins bind to form gluten: strong elastic strands of protein that give a loaf of bread its shape and chewy texture.
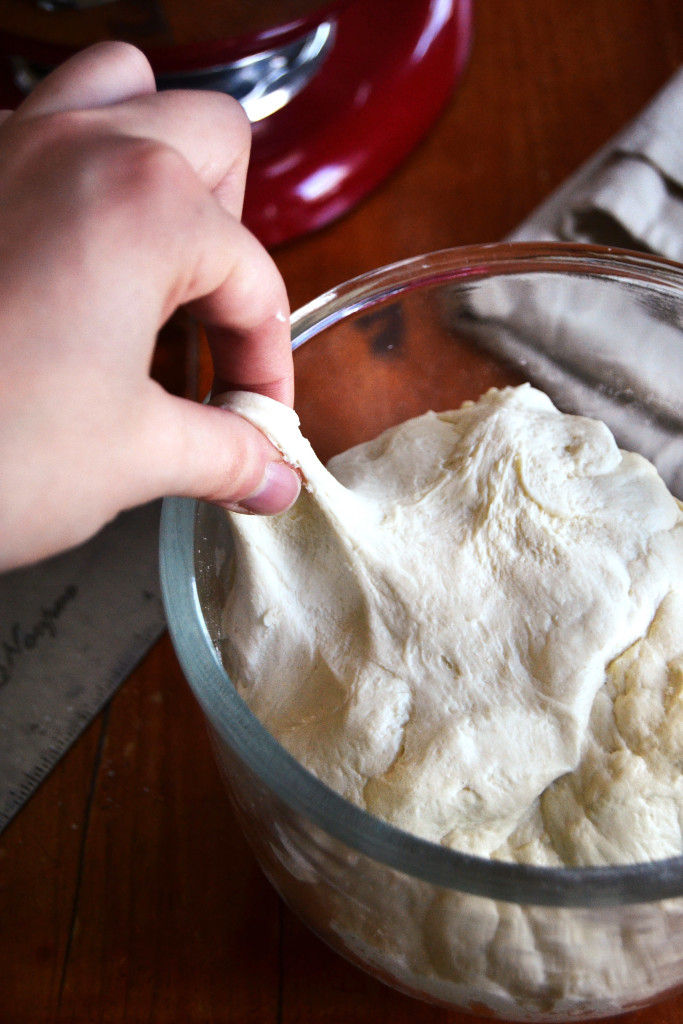
So, when making bread at home, your main goal is simple: create gluten. In short, this can be accomplished by kneading the dough, letting it rest, and punching down or degassing the dough in between rests.
Kneading the dough is basically another way of saying “playing with the dough”. Folding the dough over on itself in your hands, pressing it against a tabletop and continuously working it, or using a dough hook to knead it in a stand mixer will force the proteins to attach and re-attach to each other, building tougher strands of gluten.
If you over-knead your dough it will get tough and tight, but it would take a long time and a lot of effort to get to that point, so don’t worry. If your dough does start to feel tough, let it rest for 10-20 minutes, then return to kneading it. This short rest allows the gluten to relax, absorb moisture, and realign itself, resulting in a more elastic and easily workable dough.
Step 3: Let the Dough Do the Work
Once the dough is stretchy and smooth and you can pull on it without it tearing, you’ve got enough gluten. Then it’s time for it to rest. Resting, as I mentioned, allows the gluten proteins to align themselves. It also gives the yeast time to eat up the broken down starches from the flour and expel carbon dioxide and alcohol, which is what gives bread its beloved flavor. This is why a longer rising time is always better, and letting your dough rest overnight in a cool place is always a good idea, even if the recipe calls for only a few hours’ rest. That way the dough does most of the work while you’re asleep, which is kind of like having your dog clean your house while you’re at work. That’s the dream, right?

When all this carbon dioxide has forced the dough to rise, you’ve got to punch down or “degas” the dough and let it rise again. “Punch down” sounds more violent than it is, because it’s really more of a gentle pressing down and flipping over of the dough after every few hours of resting. This process redistributes the starches in the dough, allowing the yeast to eat more and create even more flavor.
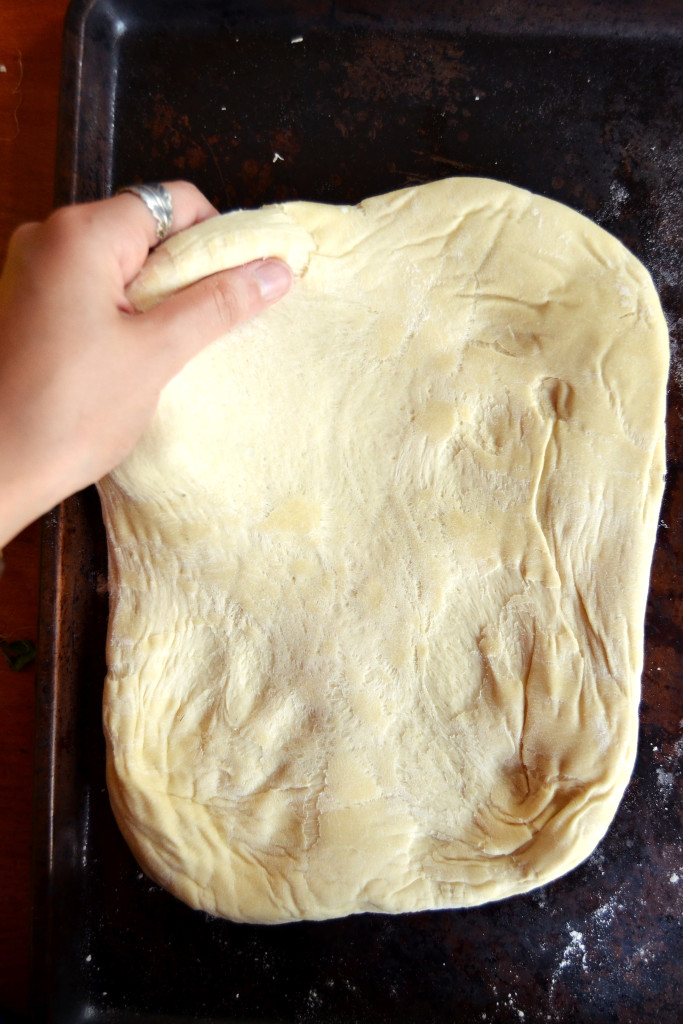
When it’s time to shape the dough, it’s important to be gentle. Some degassing is a good thing, but you don’t want to completely knock the life out of it. To shape a simple loaf, stretch the dough into a rectangle and roll it up like a cigar, then place it seam side down on a floured surface. Then let it rise yet again.
When the dough is doubled in size and ready to bake, make sure your oven is hot. For wet doughs, hotter is better – I usually set my oven to 500F when making rustic, crusty breads.
Step 4: Bake in a Steamy Oven
In the oven, you want the bread to rise quickly in the first few minutes of baking. This is known as the oven spring, and it happens because as the yeast warms up, it eats and burps up CO2 more and more quickly. Once the yeast heats up to around 140F, though, it dies. Its job is done, and it gives its life so that your bread can go on to greatness. Thanks yeasties.
One way to facilitate this “spring” is to make sure your oven is steamy, which allows the dough to be more stretchy. Creating steam, either with ice cubes thrown on the floor of the oven or a tray of boiling water placed underneath the bread, also creates a beautifully crispy crust. Because deep down we all want that perfect, simple, rustic loaf of bread that cracks as you tear it open, and makes you feel like you’re sitting at a table in the French countryside surrounded by cheese and wine.
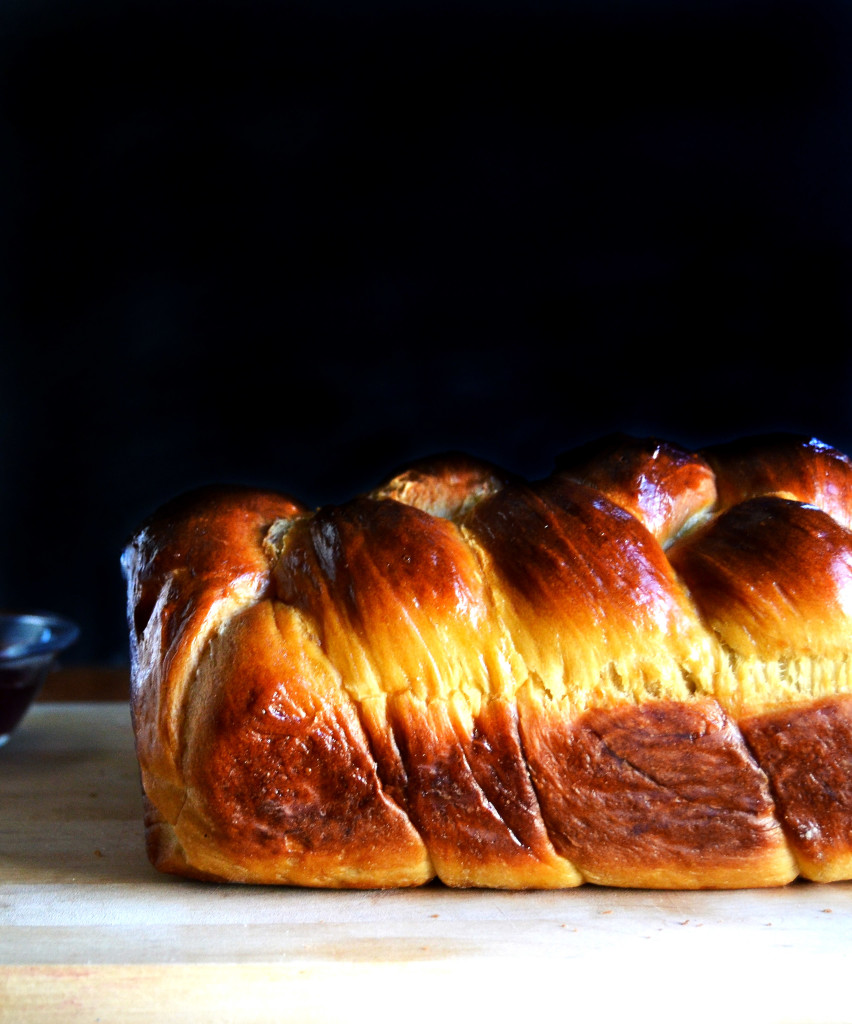
Your loaf is done when it reaches an internal temperature of 190-210F (lower temperatures if it’s an enriched dough with extra fat and sugar, like challah bread, and higher if it’s a lean dough of just water and flour, like ciabatta). If you don’t have a thermometer, just rap your knuckles on the crust, and if it sounds hollow, it should be done.
Step 5: Let it Cool
One last important step: before slicing the bread, it’s really important to let it cool completely. This is my least favorite step, because once I get a whiff of that heavenly aroma of freshly baked bread, it takes every ounce of my self-control to stop from tearing my loaf apart immediately and stuffing it into my mouth. But, it needs to cool to let the steam inside either evaporate or be absorbed by the bread. When the bread is still hot, the starches in the bread are still setting up, so cutting into a hot loaf will make it seem as though your loaf is under baked and gummy, and nobody wants that. An hour or two of letting it cool will make all the difference.
And that’s it, you now know everything you need to know to bake a great loaf of bread. While this is a simplified explanation of how bread is made, I hope that it brings you closer to that homemade loaf you’ve always wanted to pull out of your oven. Everything I know about bread I’ve learned from a combination of Peter Reinhart’s The Bread Baker’s Apprentice, baking classes at a local culinary school, and research/trial and error/Google through the years. If you’re interested in a more in-depth and philosophical examination of bread-baking, check out this TED Talk given by Peter Reinhart – this guy is the bread whisperer.
Happy baking!